Showing posts with label Scarf. Show all posts

Friday, September 21, 2012

Forever Young Infininty Scarf Tutorial

I love the song "Forever Young" by Bob Dylan.

But, I have a confession...I never actually knew this song until the TV show Parenthood used it as their opening theme song.

Nonetheless, love is love.  I love it.

So much so, that I decided to incorporate it into one of my handmade Christmas items this year.

Enter:  The Forever Young Infinity Scarf

Yes, infinity scarves have been done before and will continue to be done forever, I'm sure.  I didn't say this was a brand-spankin' new idea here folks.  But I did take two ideas previous pinned here and here (Thanks again, Pinterest) and meshed them into my own creation.

I have somewhat of a list going of friends and family for whom I want to make some sort of Infinity Scarf- whether the Kid Art one posted previously, or one with writing like today's scarf.  So, last night while catching up on the most recent episode of Parenthood (thank you Hulu for keeping this island girl up with the times!), it hit me!  I knew I wanted to use the lyrics from the song "Forever Young" for one of the scarves.  I even knew exactly who I wanted to give it to.  (She doesn't read blogs, or Pin anything, so I'm safe in posting...mwahaha!)

The steps are super easy, as you probably already know:

Cut your shirt to the desired width (I chose a thinner width for this scarf and *still* fit the lyrics to the song twice!), put a piece of cardboard inside to prevent bleeding and get to writing:
*I think I have decided that it is best to turn the shirt inside out before writing.  Both the scarves I have done this week seem to curl to where you cannot see the side you draw/write on.  I'm going to test this on my next one, but just something to think about*

Once you are finished writing, stretch the heck out it.  The longer you stretch it out, the skinnier it will be.


I really like the skinny look for this scarf.  I think a bulky scarf with this much wording would be too over powering.  But now, it is the perfect accessory to complete an outfit.  I can't say we wear many scarves on Saipan, but my friend doesn't live here and I can see her using this to dress up a tee, go casual with a cardigan or anything this fall.

I really love to give thought out, hand made gifts.  I hope you are inspired to start working on a creation of your own!

"Forever Young"

May God bless and keep you always
May your wishes all come true
May you always do for others
And let others do for you
May you build a ladder to the stars
And climb on every rung
May you stay forever young
Forever young, forever young
May you stay forever young.

May you grow up to be righteous
May you grow up to be true
May you always know the truth
And see the lights surrounding you
May you always be courageous
Stand upright and be strong
May you stay forever young
Forever young, forever young
May you stay forever young.

May your hands always be busy
May your feet always be swift
May you have a strong foundation
When the winds of changes shift
May your heart always be joyful
And may your song always be sung
May you stay forever young
Forever young, forever young
May you stay forever young.

Tuesday, September 18, 2012

Kid Art Infinity Scarf Tutorial

Christmas has been on my mind a lot lately.  It may seem early (even for me), but when you add in shipping time from Saipan, as well as the shopping and shipping time from my Mom/Sister when I need certain craft items, it's really not that bad.  Also, I have this unrealistic hope of having most (if not ALL) Christmas gifts ready before Titus comes at the end of next month.

This year (as much as it pains me since I love gift giving), we are going minimal on gifts.  The reasons for this are pretty basic--Saipan has very little to offer as far as gifts go (except for extremely touristy items, which no one wants), we have limited funds with which to purchase gifts, and I have way too many Pinterest craft ideas on my "Want to do" list.

So, Emilia and I have been working on the projects that involve her.  She LOVES to help on a project and she is getting to the age where she actually IS a help.  ;-)  Originally I saw this idea on Pinterest for personalized handwritten scarves.  I loved the idea right away because they aren't completely legible when worn, but they would have special meaning to the giver and the recipient. 

My next challenge was finding a way that Emilia could help make them for certain family members.  Some of my family members are more crafty/artsy than others, so I knew they would appreciate (and actually *use*) this gift.  Since Emilia cannot write yet (except for her name), I decided to lay out all our colorful permanent markers and let her go to town.  She had a blast!


Supplies:

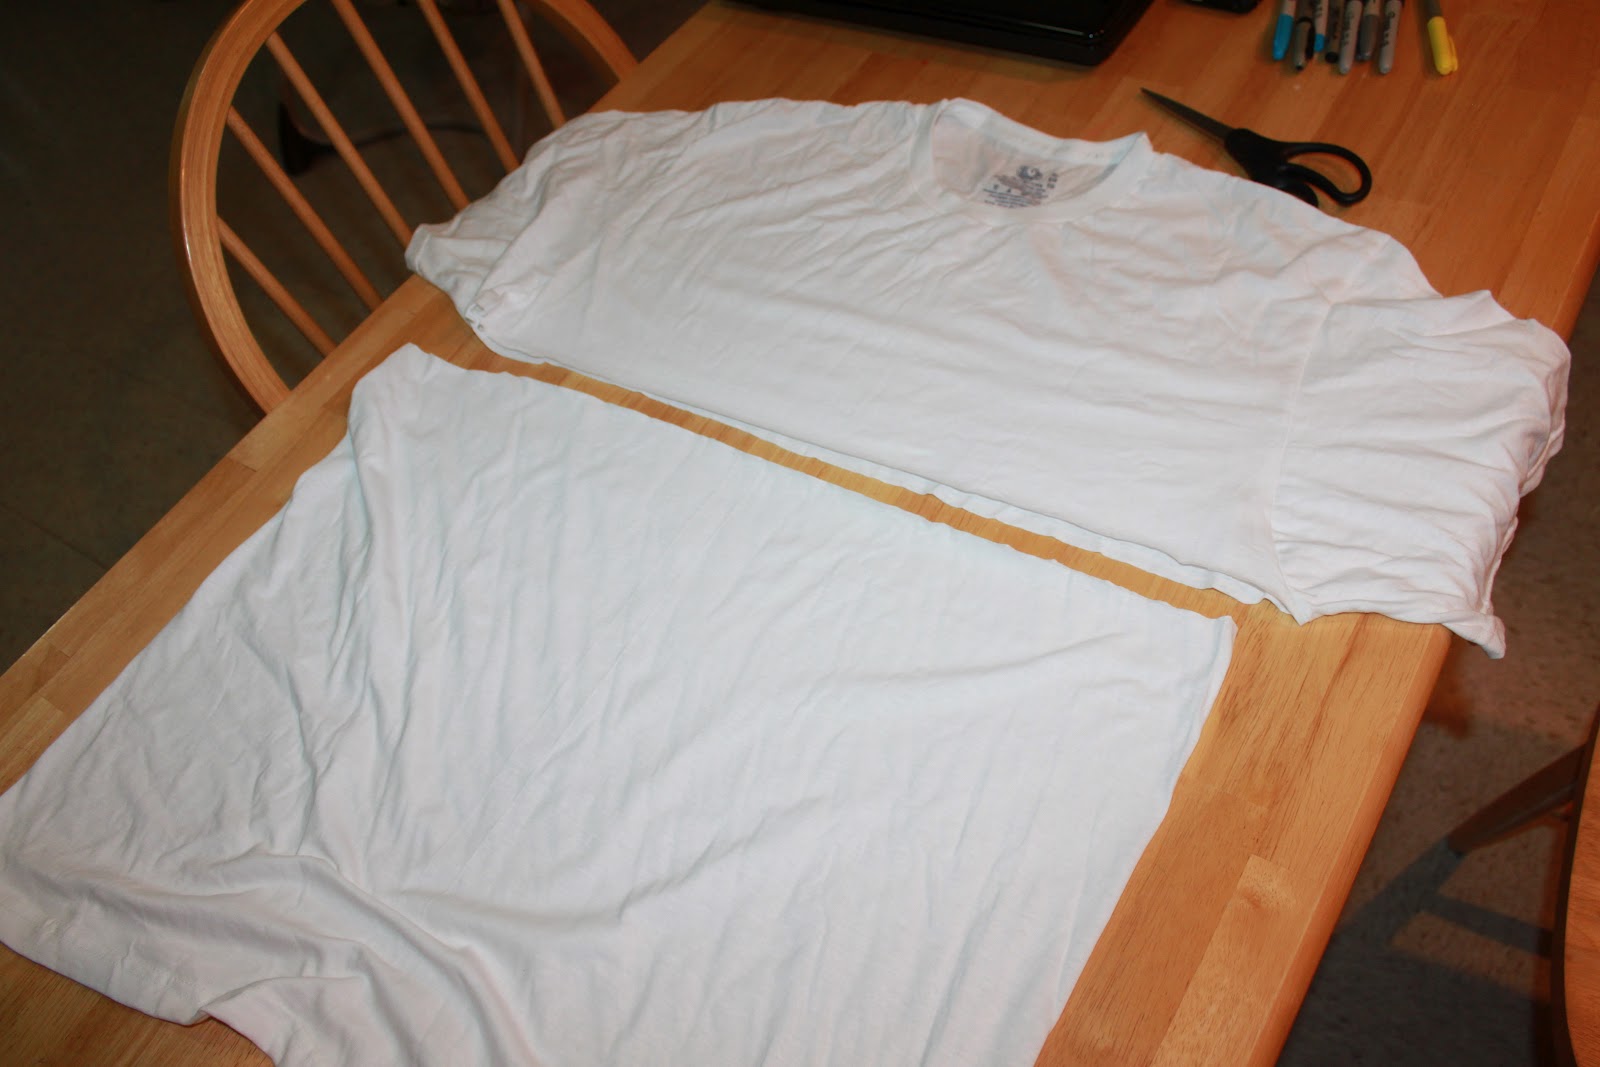
1 Plain White T-Shirt (we used XL)
Scissors
Permanent Markers of your choice


Step One:  Cut your shirt just below the armpits

Step Two:  Let your kid go to town!  *Important suggestion which I didn't initially do...lay down a piece of card board, or you'll end up with this:
 
Step Two Redo:  Lay down a big piece of cardboard on the floor, and let your kid go to town! 


Step Three:  Cut the bottom hem of the shirt off:


Step Four:  Stretch, stretch, stretch!  I had a 3-year-old helper, but if you don't, but one end around a chair or your feet or whatever works for you.


Voila!

She wanted to test it out..I think it got her approval! ;-)


This type of gift might not suit the taste of everyone (or anyone) on your list, but I know it is going to be very well received by the family members we are giving them to.  (Sorry for being so vague...they don't usually read this blog, but just in case!)

Friday, March 9, 2012

Small Style :: Emilia's Stylings

Our little girl gets more and more independent every day and we are so proud of her.  Her most recent venture in independence has been dressing herself, "All by Myself".  That works out fine for bedtime, because no one cares if your pj's don't match...well, personally I twitch a little when her pj's don't match, but I'm working on that.  ;-)  A few days this week, she has gotten herself dressed before coming down in the morning.  As you will see, she has a love for girlie things and bright colors.  It reminds me of how my sister used to dress when we were younger- mixing of patterns, colors, textures was all OK if she *liked* it.  ;-)  Forgive my poor photo quality, but my husband snapped these with his iPhone and had to be quick before Emilia darted off to play. (O:

Emilia's Styling #1:
Emilia is wearing a white long sleeve shirt (Target), layered under a Cardinals shirt (yard sale find), paired with overalls (Target clearance for $4.80!), black tutu (Carter's sale- reused from Halloween costume and 2nd birthday outfit), pink and white striped socks (Old Navy) and the famous Rosetta shoes (Target clearance).


Emilia's Styling #2: 
Emilia is wearing a colorful striped short sleeve shirt (Old Navy clearance), under a Gap tank top (yard sale) and paired with polka dot leggings (Gap clearance).  *I mentioned to Jason that I need to rearrange the drawers in her room because this whole outfit was from our "nice clothes" drawer that only I dress her from when I am with her...but Jason noted that most of the fun, bright colors are in that drawer!  Maybe I need to spread out the love...(O:

I hope you get a little laugh from her outrageous stylings, as we did.  But remember, she is oh-so-proud of herself for doing it all by herself.  So we tell her she did a great job and we love the colors.  I think I will continue choosing outfits and letting her decide which to wear when we actually leave our house, but for playing at home, these are perfect. (O:

I am linking up to Mama Loves Papa's Small Styles again!


Oh!  And guess what!  I actually won one of her giveaways from last week!!  Woo hoo!  I do not have the best of luck with winning things, so I am super stoked about this.  Look at the beautiful pashmina and silk scarf I won!  This will be a great addition to my growing scarf collection, yay! (O:

Friday, March 2, 2012

Embrace The Camera: March 1, 2012

Another awesome challenge I have recently come across and I am super excited about!  Emily, of The Anderson Crew, has extended the challenge to bloggers/photographers/mommas/etc. to not only take photos but to actually Jump IN them.  Thus, Embrace the Camera!  I think the part I love about this the most is that by forcing myself to get out from behind my camera, I will ensure that Emilia has many, many photos of us to look back on.  I have very few photos with my mom and want to do what I can to make sure Emilia has plenty- she may even say Too MAny. (O:

My husband, Jason took this one for me on Sunday before church.  He just got back home from a two-week leadership seminar in Abu Dhabi two days prior and brought me this gorgeous scarf!  Maybe it is just me, but I think I look super tired here...maybe I was tired.  But, tired eyes aside, I will embrace the camera and post our shots! (O:


Head on over here to check out all the others who are embracing their cameras and join in the fun!

Have a great day!


Tuesday, February 14, 2012

Infinity Scarf from a T-Shirt :: Tutorial (PDLB)

This is my latest Pinned it, Did it, Loved it, Blogged it success and I love it!!


I have had this idea pinned for a couple of weeks and kept forgetting to just DO it.  As soon as I saw it, I knew exactly which shirt I wanted to use.  It was a super fun patterned shirt I found on clearance, but hardly ever wore because it never kept its shape throughout the day.  Enter: new scarf!  This is seriously the easiest infinity scarf E.V.E.R.!  It is one of those things that will make you go, DUH!  Why did I think of that!?  The instructions are as easy as Shannon @ Madigan Made lays out in her tutorial.

What you need:
One T-Shirt
Scissors

Directions:


Voila!
 

Note:  The thinner and stretchier (if that's a word) your shirt is, the better curl it will provide upon stretching.  My shirt was not very thin or stretchy, so it did not curl very much.  I still really like it and just rolled the ends in a little by myself.  Enjoy! (O: